1. Choose
File > New Project. Alternatively, click the New Project icon in the IDE
toolbar.


2. In
the Categories pane, select the Java node. In the Projects pane, choose Java Application.
Click Next.

3. Type
GUI in the Project Name field and specify a path as the project location.

4. Ensure
that the Set as Main Project checkbox is selected.
5. Deselect
the Create Main Class checkbox if it is selected.
6. Click
Finish.
7. Create
a JFrame Container
a. In
the projects window, right-click the GUI node and choose New > JFrame Form…

b. Enter
OpenImage as the class name.
c. Enter
my.GUI as the package.
d. Click
Finish.

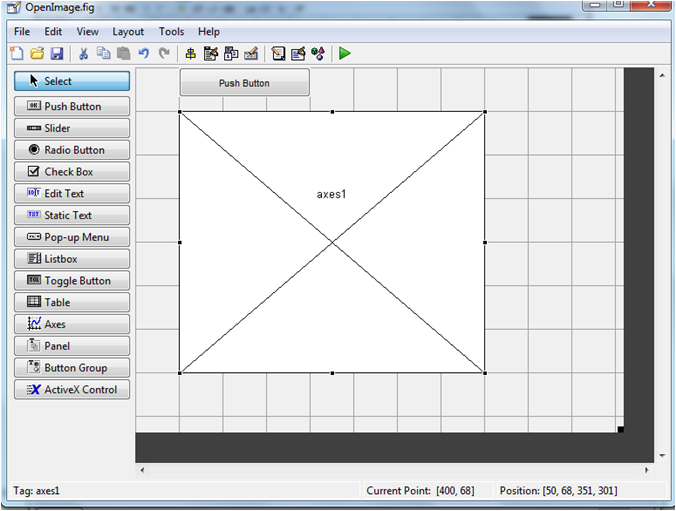
8. Adding
Components
a. Choose
Window > Palette

b. Start
by selecting a Label from the Swing Controls category on Palette and drop it
onto the JFrame.

c. Add
button

9. Making
the Button work:
a.
Click on the jButton1, go to the
Properties window, and change text jButton1 to Open Image.
b.
Click Code and rename Variable Name to openBtn:

c.
Double-click on Open Image Button and
add functionality to make the “Open an Image” Button work with source code as
below:
private void
openBtnActionPerformed(java.awt.event.ActionEvent evt) {
FileDialog f = new FileDialog(this,
"Open File", FileDialog.LOAD);
f.setDirectory(directory); // Set the default directory
// Display the dialog and wait for the
user's response
f.show();
directory = f.getDirectory(); // Remember new default directory
filepath = directory+f.getFile();
BufferedImage img = null;
try {
img =
ImageIO.read(new File(filepath));
imageLabel.setIcon(new javax.swing.ImageIcon(img));
}
catch (IOException e) {
System.err.println("I
could not load the file \'"+directory+"'. Sorry.");
}
}
}
10.
Run the project